Eagle Eye Installation Instructions
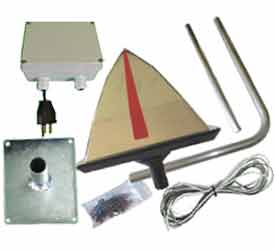
12v Electrical Kit
* Always follow all safety rules when operating power tools and when working at heights. Do not perform the assembly and installation process without the necessary safety qualifications. |
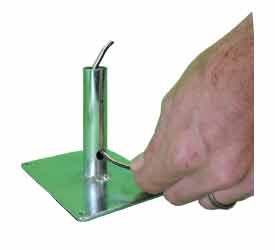
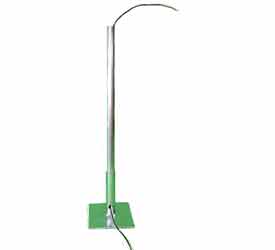
1) Measure the length of wire needed and push it through the opening in the mounting bracket. |
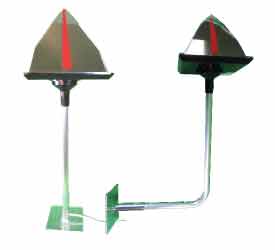
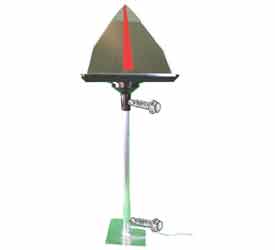
2) Use the straight pipe to install the Eagle Eye unit on a horizontal surface or the bent pipe for an installation against a vertical surface. |
3) Push the wire through the pipe and insert the pipe into the mounting bracket. Leave approximately 1ft of wire outside the top of the pipe to be connected to the Eagle Eye unit. |
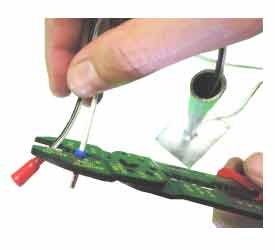
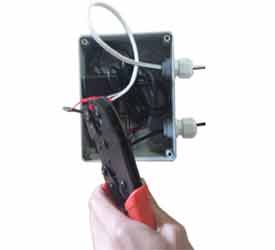
4) Strip the wire and place the red connector on the wire with the black line (+). Place the blue connector on the unmarked wire (-) and secure the connectors in place with a crimping tool. |
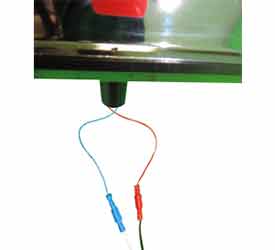
5) Insert the red connector into the red plug and the blue connector into the blue plug on the Eagle Eye unit. |
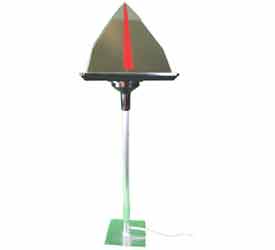
6) Push the connectors deep into the base of the Eagle Eye unit and insert the pipe. Ensure that the pipe is firmly inserted into the Eagle Eye base. |
7) Secure the Eagle Eye unit and mounting bracket with the self drilling screws supplied. Start by drilling a pilot hole through the pipe to ensure that the wire inside will not be damaged when the screw is inserted. |
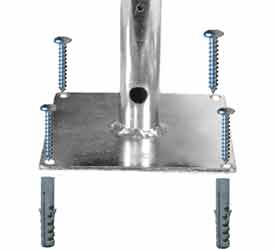
8) Place the mounting bracket on the surface and mark where the holes should be drilled. Drill 4 holes with a 15/64″ (6mm) drill-bit. Insert wall plugs and fasten the bracket with the screws included. Seal the holes with silicone. |
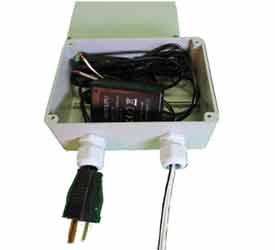
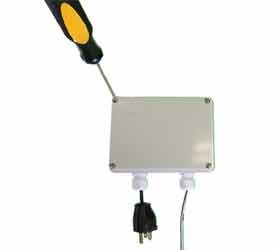
9) Open the power supply box and push the wire from the Eagle Eye unit through the opening. Strip the top of the wires to prepare for connection. |
10) Use the 2 ferrules inside the power supply housing to connect the wire from the Eagle Eye to the power supply. (Use a crimping tool) The marked wire is + and the white wire is -. Connect the + wire to the red wire from the power supply and the – wire to the black wire. Ensure the connection is secure. |
11) Replace the lid and place the box against a vertical surface with the openings facing down. The box may be fastened with a strong adhesive. Ensure that all exposed wires are neatly secured. |
![]() Eagle Eye 12v Installation Instructions
Eagle Eye 12v Installation Instructions![]() Eagle Eye Wind-Powered Installation Instructions
Eagle Eye Wind-Powered Installation Instructions![]() Eagle Eye Solar-Powered Installation Instructions
Eagle Eye Solar-Powered Installation Instructions

